I was really excited to join The Daring Kitchen and try out some new recipes. I knew that it would help me expand my variety in the kitchen and get me out of my comfort zone. April was my first month doing a Daring challenge and it was just that… daring.

When I saw the options for this month, Armenian Nazook or Nutmeg Cake, I wasn’t exactly excited. I was hoping for something more like obviously dessert-y. But, instead of being disappointed I reminded myself the whole reason I joined in the first place, to challenge myself.
I chose to make the Armenian Nazook, which you could probably tell from the title. Now, I still wasn’t super excited about the idea of making nazook because I had no idea what I was making but I gave it a shot anyway.
Now. Let me apologize for the photos. If you’ve read any of my previous posts you know that my other half is in bootcamp and little Jaden and Nahla have been keeping my very busy. The day I made the bread Jaden was being extra clingy so I was rushed and I had to use my iPhone to take the pictures. I promise promise promise I won’t be doing that again.
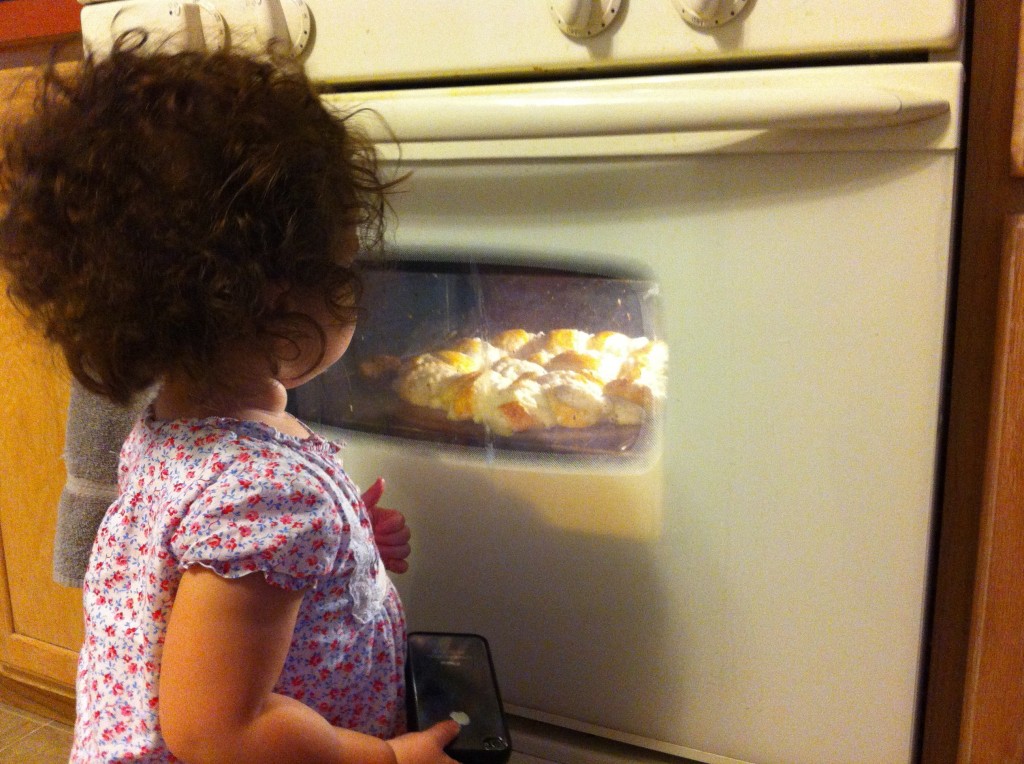
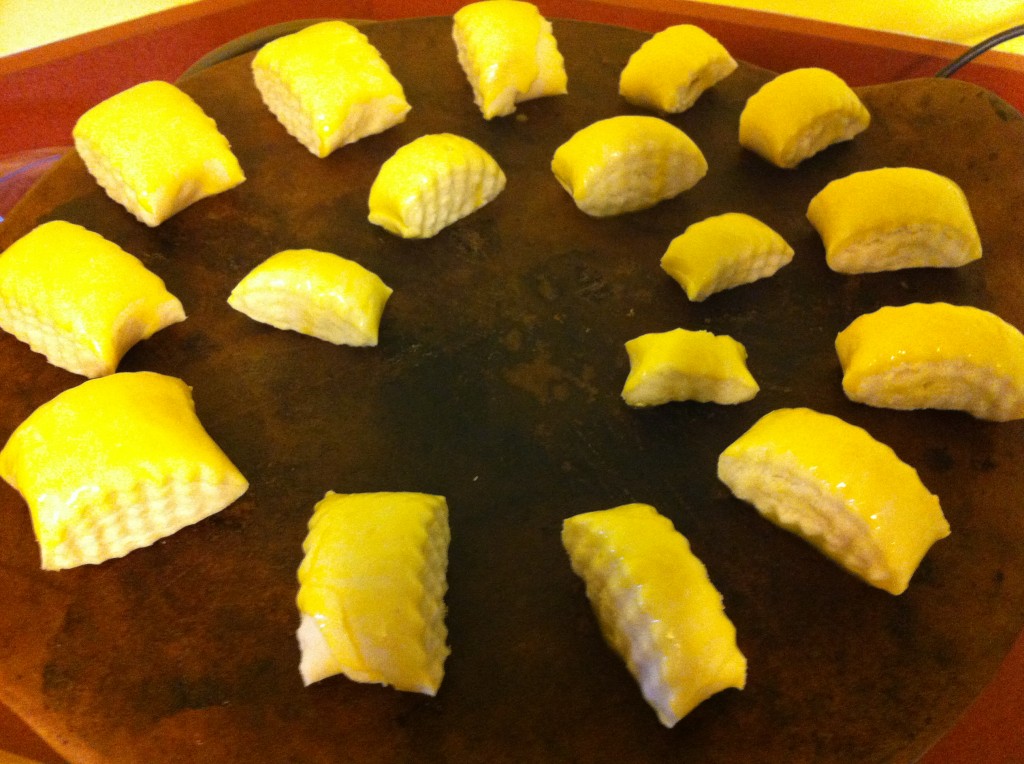
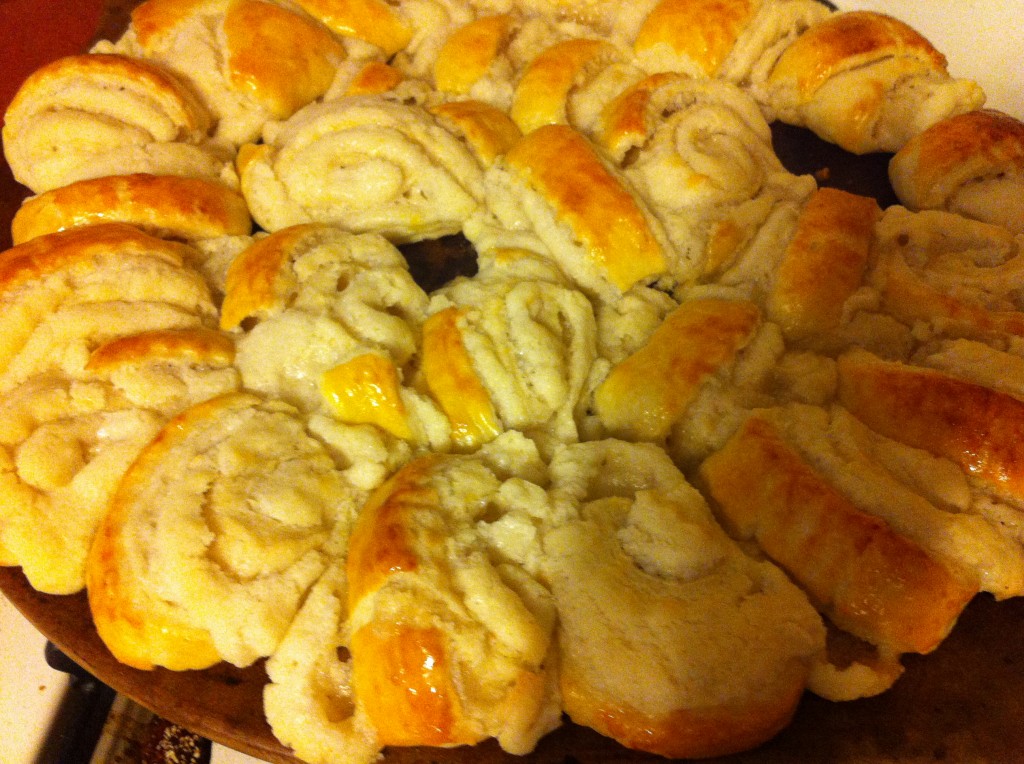
I’ve been doing my best at being the best that I can in every aspect of my life. It’s exceedingly difficult. And as the saying goes, something’s gotta give. This time, it was my photo quality. Also, I was rushed so instead of separating my dough and placing all of my pieces 2-inches apart instead I kind of created a ring and they were very close. Sooo, when they baked up they actually turned into a ring. It looked cool, my daughter really got a kick out of it. But, it looks a lot better if you do it the right way.
Regardless of the looks, it tasted great! I was so surprised and I think I’ll be making it again in the future because it did taste nice and sweet with a flaky crust. It came out looking pretty funky but the taste made up for all of that.
Next month, I will definitely be keeping an open mind and making sure that I do everything the way I’m supposed to. Generally, when I bake I put everything into it. I make sure to follow directions exactly as they are written. I’ll probably schedule some baking time for my next challenge so that I can give it my complete attention.
Yields 40 pieces
Ingredients
Pastry dough
- 3 cups (720 ml) (420 gm/15 oz) all-purpose (plain) flour, sifted
- 2½ teaspoons (12½ ml) (7 gm) (¼ oz) (1 packet) active dry yeast
- 1 cup (240 ml) (225 gm/8 oz) sour cream
- 1 cup (2 sticks) (240 ml) (225 gm/8 oz) softened butter (room temperature)
Filling
- 1 1/2 cups (360 ml) (210 gm) (7½ oz) all-purpose (plain) flour, sifted
- 1 1/2 cups (360 ml) (340 gm/12 oz) sugar
- 3/4 cup (1½ sticks) (180 ml) (170 gm/6 oz) softened butter (room temperature)
- 2 teaspoons (10 ml) vanilla extract
Wash
- 1-2 egg yolks (for the wash; alternatively, some yogurt, egg whites, or a whole egg)
Directions:
Make the Pastry Dough
1. Place the sifted flour into a large bowl.
2. Add the dry yeast, and mix it in.
3. Add the sour cream, and the softened butter.
4. Use your hands, or a standing mixer with a paddle attachment, to work it into a dough.
5. If using a standing mixer, switch to a dough hook. If making manually, continue to knead for about 10 minutes, or until the dough no longer sticks to the bowl or your hands. If it remains very sticky, add some flour, a little at a time.
6. Cover the dough and refrigerate for 3-5 hours, or overnight if you like.
Make the filling
7. Mix the flour, sugar, and the softened butter in a medium bowl.
8. Add the vanilla extract.
9. Mix the filling until it looks like clumpy, damp sand. It should not take long. Set aside.
Make the nazook
10. Preheat the oven to moderate 350°F/175°C/gas mark 4.
11. Cut the refrigerated dough into quarters.
12. Form one of the quarters into a ball. Dust your working surface with a little flour.
13. Roll out the dough into a large rectangle or oval. The dough should be thin, but not
transparent.
14. Spread 1/4 of the filling mixture across the rolled-out dough in an even layer. Try to spread the filling as close as possible to the edges on the short sides, but keep some of pastry dough uncovered (1 inch/2.5 cm) along the long edges.
15. From one of the long sides, start slowly rolling the dough across. Be careful to make sure the filling stays evenly distributed. Roll all the way across until you have a long, thin loaf.
16. Pat down the loaf with your palm and fingers so that it flattens out a bit (just a bit).
17. Apply your egg yolk wash with a pastry brush.
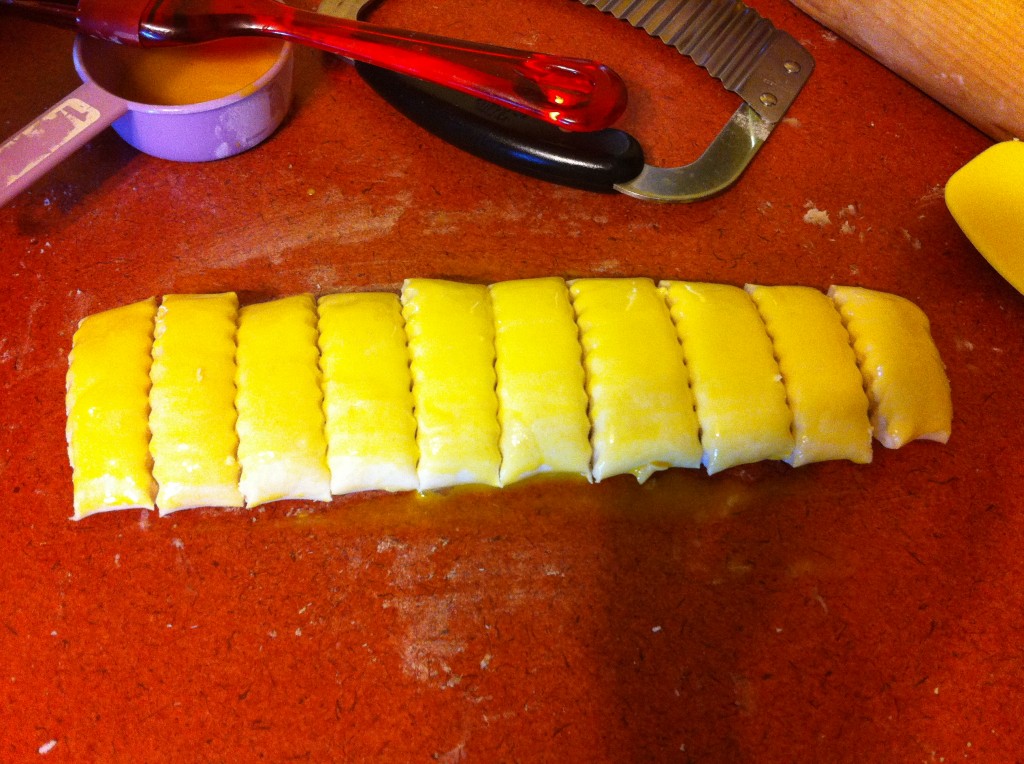
18. Use your crinkle cutter (or knife) to cut the loaf into 10 equally-sized pieces. Put onto an ungreased cookie sheet.
19. Place in a preheated moderate oven for about 30 minutes, until the tops are a rich, golden brown.
20. Allow to cool and enjoy!


Welcome to the Daring Bakers!! I think you did a fantastic job on the challenge. Sometimes it doesn’t always go our way, and sometimes we aren’t always excited about the challenge, but it is always worth it in the end. And I think you lucked out with this awesome and fairly easy challenge this month, especially since you are by yourself this month! I always try to bake during naptime because it seems the second you need both hands is the second your babies want to be held! 🙂 Anyway, you did a GREAT job and welcome to the club! 🙂
Author
Thank you for the welcome! Your nutmeg cake looked amazing, I kind of wish I would’ve tried that recipe now. 🙂